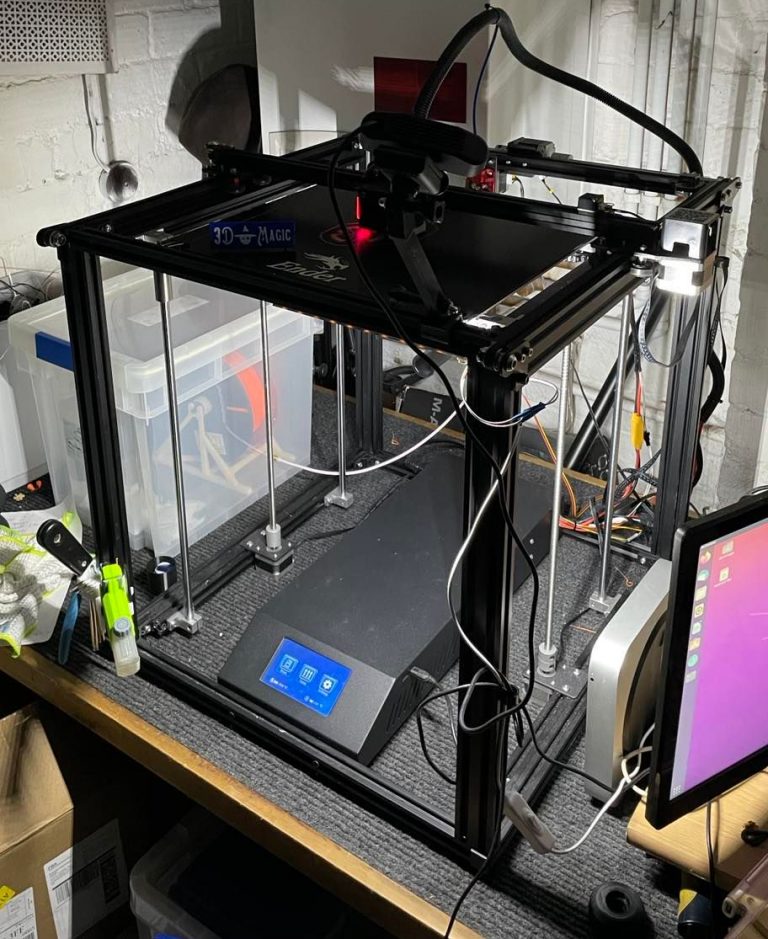
PLEASE NOTE: You can’t get directly over the right hand screws, so I’ve got it as close as I can.
The probe will measure over each screw and return a result to your terminal that looks like this:
Recv: // 01:20 means 1 full turn and 20 minutes, CW=clockwise, CCW=counter-clockwise
Recv: // front left screw (base) : x=69.0, y=54.0, z=2.52313
Recv: // front right screw : x=360.0, y=54.0, z=2.53625 : adjust CCW 00:02
Recv: // rear right screw : x=360.0, y=312.0, z=2.51688 : adjust CW 00:01
Recv: // rear left screw : x=69.0, y=312.0, z=2.53500 : adjust CCW 00:01
The front left screw is your baseline and the rest are measured from that. Clockface directions are looking down on your printer. So CW is turn to the left. The hours and minutes indicate how far. 1 hour is a full rotation. Your aim is to get everything under 6 minutes.
Sometimes the results are big numbers, like:
front right screw : adjust CW 04:12
rear right screw : adjust CW 04:30
rear left screw : adjust CW 05:24
If that happens, adjust the front left screw first in the opposite direction, so CCW 3:30, for instance. If you bottom out at any point go back and adjust all other screw in the opposite direction.
We are not aiming for a Z value of 0! This is important.
We get hung up on seeing zeros on the level screens but, actually, being at 2 is fine, as long as they’re all close together. Your Z offst isn’t affected because the bed is still probed at the start of each print. More on that later.
Repeat SCREWS_TILT_CALCULATE as many times as you need to until your numbers are all under 6 minutes. You’ll get better at turning the correct amount as you go.
Once you’re done, run a BED_MESH_CALIBRATE and look at your numbers. You will find you’re within hundredths of a millimeter. Do all this with a cold bed, by the way. Honestly, it doesn’t seem to matter.
The picture is my BED_MESH_CALIBRATE results. N.B. This is after the printer has been off a bunch and stuff. You may have results that start with a 2 or something. But they’ll still all be super close together.
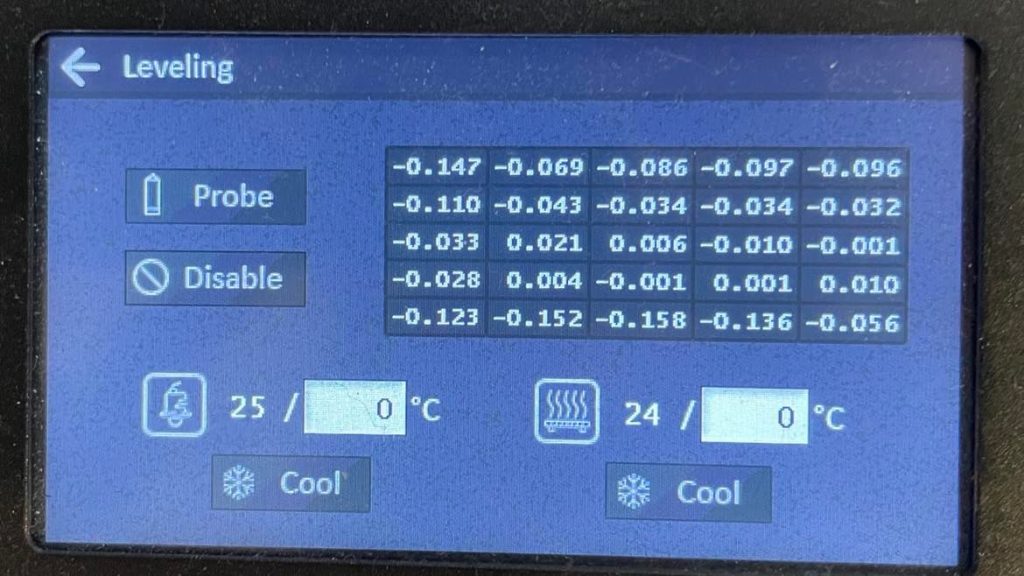
There are some higher areas, but it’s all within two tenths of a mm. It doesn’t matter too much because of step two.
Step 2: Levelling on every print.
HEAR ME OUT! You may have used auto bed levelling when your printer was stock and it sucked so bad and sometimes made that weird triangle on the bed so you avoid it. But we’re running Klipper. Things are different now.
You still need to do the paper test to get your Z offset correct, but -2.59 is generally a good starting point, from what I can tell.
Now the good stuff.
We’re going to add a print start macro to the config and then tell the slicer to run that, instead of all the dumb stuff it wants to do, much of which Klipper ignores anyway.
What we’re going to do is start heating the bed and do a BED_MESH_CALIBRATE whilst it’s heating so there’s no wasted time.
Add the following to your config. Or if you’re fancy, put it in a separate script file and call it but I don’t do that.
I’m not going to lie, I’ve cribbed this from someone and forgotten who. However, theirs didn’t actually work for me, so I have edited and it works on my machine beautifully. Printers are fickle beasts and results my vary.
[gcode_macro START_PRINT]
variable_bed_temp: 65
variable_ext_temp: 205
gcode:
    M117 Homing
    # Use absolute coordinates
    G90
    # Start bed heating while calibrating
    M140 S{bed_temp} # set bed temp
    # Home the printer
    G28
    M117 Calibrating
    BED_MESH_CALIBRATE
    G1 X10.1 Y20 Z50 F3000
    M117 Heating extruder
    M109 S{ext_temp} # set extruder and wait
    M117 Heating bed
    M190 S{bed_temp} #wait for bed temp

[gcode_macro PURGE_LINE]
gcode:
    # Test Line
    M117 Printing Purge Line
    G92 E0 ;Reset Extruder
    G1 Z2.0 F3000 ;Move Z Axis up
    G1 X10.1 Y20 Z0.28 F5000.0 ;Move to start position
    G1 X10.1 Y200.0 Z0.28 F1500.0 E15 ;Draw the first line
    G1 X10.4 Y200.0 Z0.28 F5000.0 ;Move to side a little
    G1 X10.4 Y20 Z0.28 F1500.0 E30 ;Draw the second line
    G92 E0 ;Reset Extruder
    G1 Z2.0 F3000 ;Move Z Axis up
    M117 Here we go!
This is set for my most common print temperatures so you may want to change the bed_temp and ext_temp variables. I also have the CURA purge line included as a separate macro because I like it for priming the nozzle. You can include anything you want your printer to do on the start of a print and the beauty part is you don’t need to reslice if you make a change here because the actions are controlled by the Klipper config, not the slicer. You could make both these commands one macro or use a different priming method.
Then in CURA (or your slicer of choice. You may need to tweak some stuff…) change your start gcode (Preferences>Configure Cura>Printers>Machine Settings) to this:
M104 {material_print_temperature_layer_0}
M140 {material_bed_temperature_layer_0}
START_PRINT
PURGE_LINE
It needs to be this because, if it isn’t, CURA just adds a load of extra stuff before your start print macro.
It’s very stupid.
When you run your next print, your bed should probe a bed mesh as it heats. The only time I’ve found this annoying is if I’ve had to restart a print a few mintues in becase of some dumb thing I’ve done but I just accept that as punishment for being dumb.
You don’t need to worry about saving the level results. Your bed is level and will level again later. Repeat the screw tilt test every so often. It’s a much faster way of checking your bed level than the long bed mesh calibrations.
Your starting gcode if you open a .gcode file should now look like this:
;FLAVOR:Marlin
;TIME:53908
;Filament used: 85.763m
;Layer height: 0.2
;MINX:146.359
;MINY:27.041
;MINZ:0.2
;MAXX:203.641
;MAXY:322.96
;MAXZ:47.4
;Generated with Cura_SteamEngine 4.12.1
M82 ;absolute extrusion mode
M104 205
M140 65
START_PRINT
PURGE_LINE
G92 E0
G92 E0
G1 F1800 E-4
;LAYER_COUNT:237
;LAYER:0
M107
As you can see, Cura_SteamEngine auto generates stuff and it is bad and stupid.
This is the same model with the M104 and M140 commands in the start gcode removed:
;Generated with Cura_SteamEngine 4.12.1
M140 S65
M105
M190 S65
M104 S205
M105
M109 S205
M82 ;absolute extrusion mode
START_PRINT
PURGE_LINE
Absolute carnage. This means it will heat first and then probe so the entire point of the exercise is voided.
Assuming you have sucessfully followed all these instructions, your printer should be on top form. Probably check your pressure advance and stuff. Now my bed is *REALLY* level, I definitely need to redo my PA again. In fact, as I write this I have a ringing tower printing and then I’m going to do a square tower!
Any questions, pop them in the comments and I’ll try and answer them.